1. Clean The Lens
Our first tip to help improve your photos may seem obvious, but when was the last time you cleaned your lens? There is no point trying to take great photos if the glass is dirty. To improve your photos, you should clean the lens each time you take your camera out to take a photo. I recommend a soft lens cloth that you can pick up at any camera store.
2. Set The Focal Point Manually
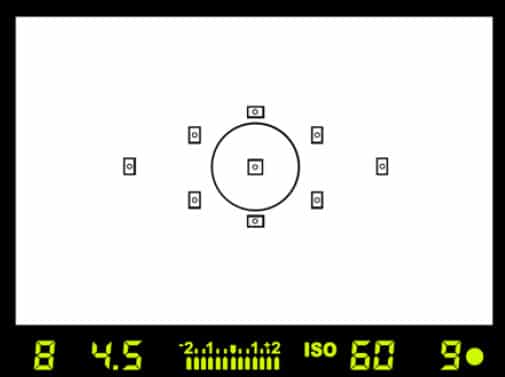
The most important job for a photographer is to make sure your subject is in focus. Don’t let the camera choose for you! If you are not moving the focal point around to position it over your main subject, then you are doing it all wrong.
3. Adjust The Exposure Manually
When you use an AUTO exposure mode such as Aperture Priority or Full AUTO, the camera often uses the focal point to set the exposure. Meaning how bright or dark your image is depends on the light that is falling on your main subject. However this could easily lead to the overall picture being over or under exposed.
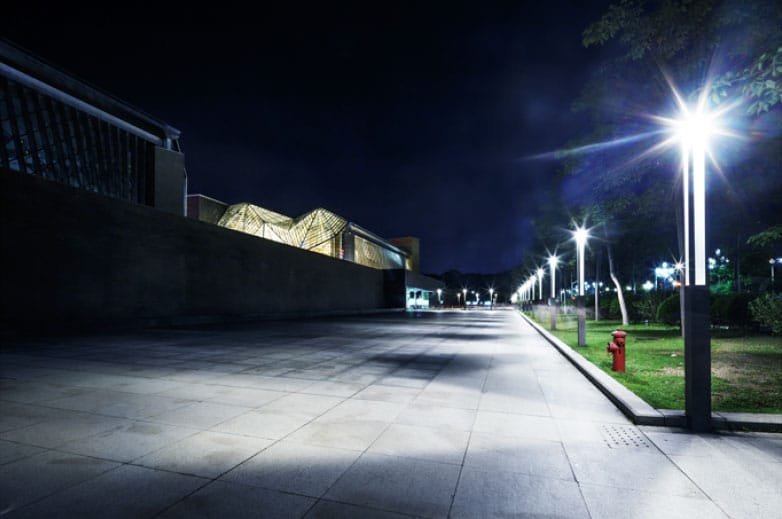
Take this image below for example.
If you were to set the main focal point on the brighter foreground, the sky wouldn’t be as dark as it should be. It would be overexposed as the camera would choose a longer shutter speed to match the foreground light. If you choose to focus on the night sky, then you would have the opposite problem.
This is a great example showing why you should choose the exposure manually.
This way it’s your choice how you adjust the exposure line in manual mode. Would you expose for the sky, the foreground, maybe somewhere in between, or rather a middle ground?
4. Keep The Camera Steady
To improve your photos when first learning how to use your camera, I highly recommend using a tripod. Even if you are finding your images aren’t as sharp as you’d like, the use of a tripod will improve the overall sharpness. This is especially important in low light or at night.
In low light, your camera needs a slow shutter speed to allow more light to hit the sensor and expose the image correctly. The problem with this is the slightest movement of the camera will result in a blurred picture.
Taking camera shake out of the equation, leaves you free to concentrate on learning how to adjust the camera settings. By using a tripod, when you do see unwanted blur in your images, you’ll know for sure that you need to re-adjust the settings.
5. Shoot From Different Perspectives
Let’s face it, everyone is taking photos nowadays. If you want your images to get noticed, you need to show your audience a unique view they haven’t seen before.
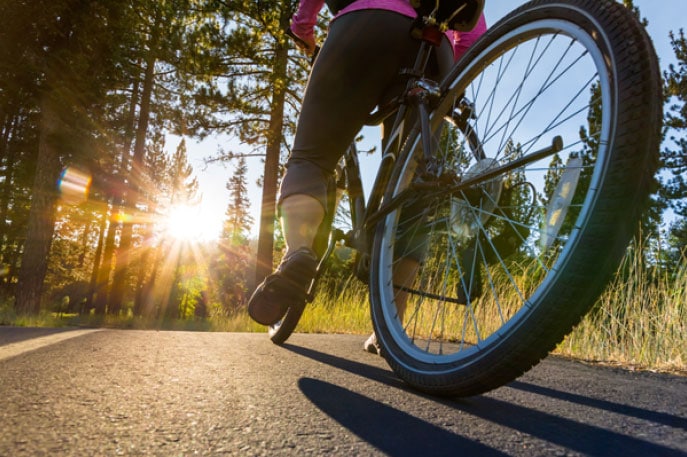
Two easy ways of doing this is to shoot from either a lower or higher viewpoint. The advantage of digital photography is that you can take as many shots as you wish. Simply deleting the ones that didn’t work later, after you’ve viewed them on your desktop.
6. Eliminate Distracting Backgrounds
A sure fire way to improve your photos is to always consider the background before you take each shot.
Is there a different angle you can shoot it from? Are you able to move the main subject further away from the background, to make better use of a shallow depth of field? Can you separate the subject from the background?
Of course this is not always possible. Take the image below for example. At times like this, you could easily simplify the image by turning it into black and white. This would place the focus back on the main subject.
You can also use the sky to avoid cluttered backgrounds. For example, instead of shooting this angle shown below, get down at a lower level and photograph the second version.
I personally think this is one of the best tips for all photographers to consider, when trying to improve your photos.
7. Take Multiple Shots
If you’re really enjoying the scene you are looking at enough to take a photo, why not take as many as you can of it? Shoot it from all angles, with numerous focal lengths, shutter speeds and apertures. Keep reviewing your photos to get a better idea as to what is and isn’t working.
It’s not unusual for me to take a hundred photos of one scene.
If you have a moving subject, also try continuous shooting. For example, have you ever noticed when photographing people walking, they always look better with their legs apart?
8. Get In Close And Fill The Frame
One of the biggest mistakes beginners make when taking photos is not getting close enough to the subject. You need to get in close to capture amazing those amazing details, colours and textures, that really bring photos to life.
9. Use Shallow Depth Of Field
Depth of field refers to the amount of sharp focus in a photograph. A DSLR camera allows you to adjust the depth of field by adjusting the aperture of the lens. Aperture effects the range of focus / sharpness in front of and behind your subject.
Using a shallow depth of field is a great way to isolate your subject against a blurred foreground or background.
10. Use Longer Exposures For Water And Clouds
This is the final tip to improve your photos for this post. One that you will undoubtably use in your photography journey.
Using longer shutter speeds for water and clouds will help slow motion, which is more appealing for landscapes. Don’t forget to use a tripod!
