In this post, you will learn how to photograph amazing images in harsh lighting conditions.
When you first start using your DSLR or Mirrorless camera, you learn that dawn and dusk are prime lighting conditions for photography. However that doesn’t mean you should put your camera away in the middle of the day.
Done right, you can actually take amazing high contrast photos in harsh light.
Exposure Settings For Harsh Light
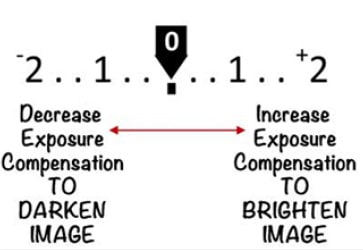
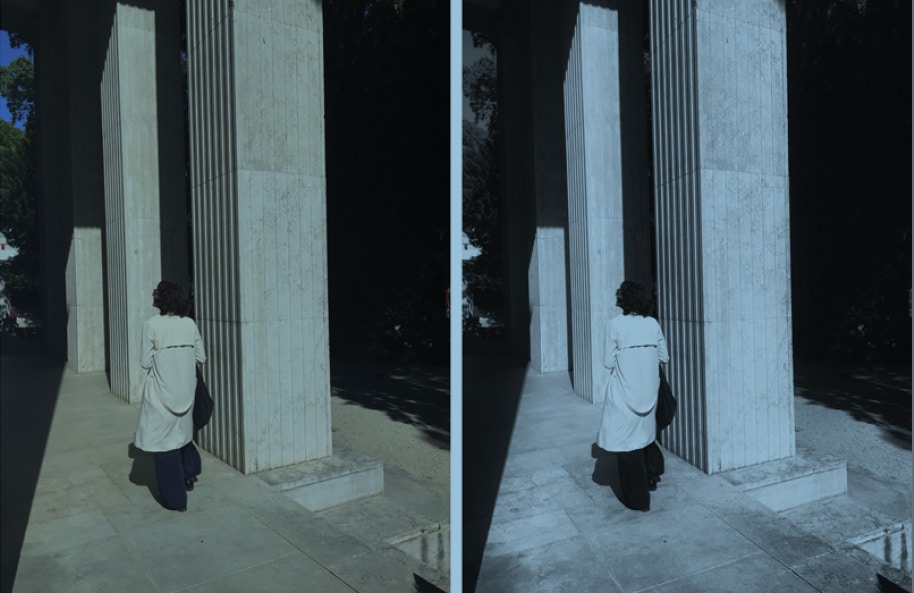
The secret to shooting in harsh lighting, is to shoot manual mode and under-expose your shots. Doing this will darken the shadows, leaving the brighter areas better exposed. No doubt you’ve taken an image in the middle of the day where the background and surroundings look great, yet people’s faces or white clothing are washed out.
When under-exposing an image, expect shadows to be much darker and more dramatic. In many cases, if you were to zero your exposure line, everything would be brighter, and overall it would look washed out and mundane. However, the advantage of DSLR cameras is that they allow you to be more creative, or artistic, with your imagery.
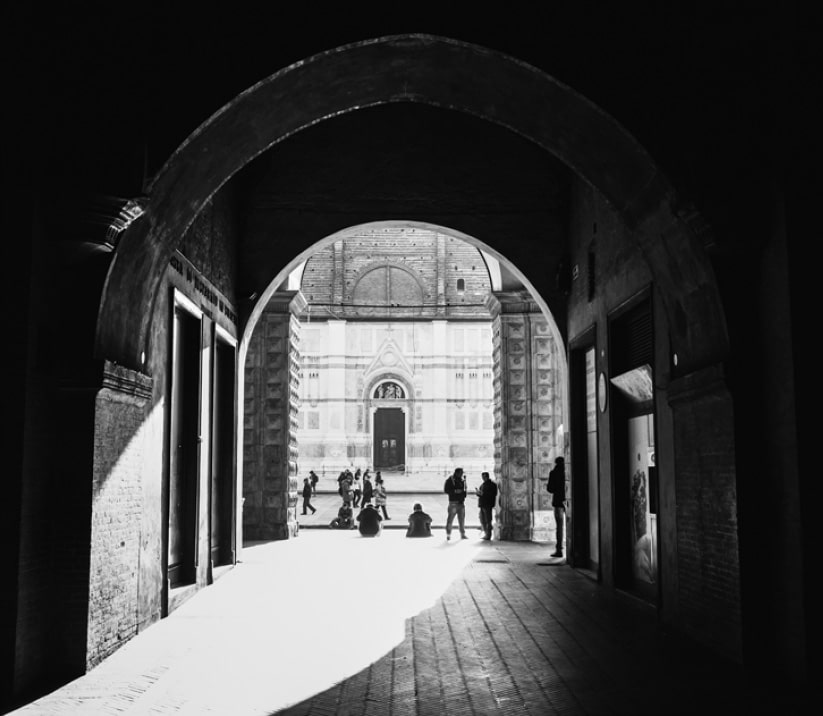
Finding A Good Location
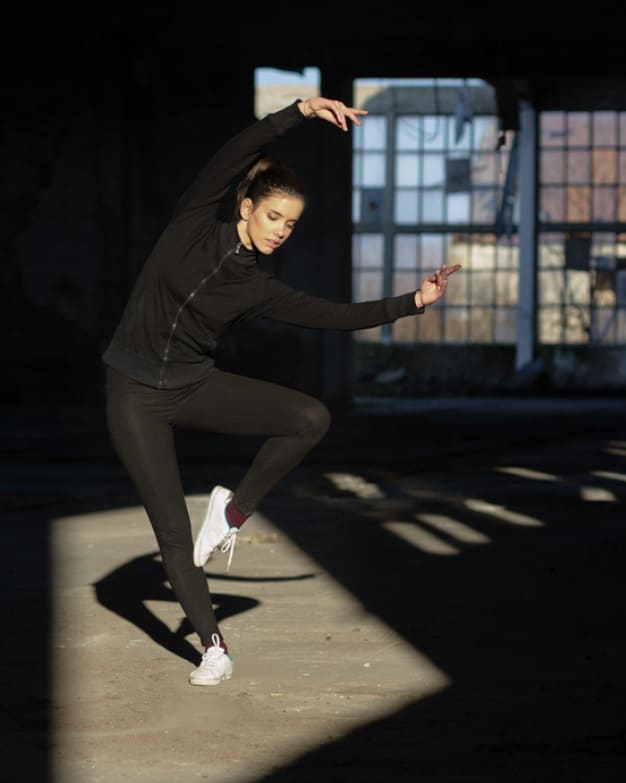
For dramatic results, look for places that have natural shadows / shade, where harsh daylight sun is also streaming across the scene. The exposure should be reduced enough so that you can see details in the harsher lit areas of the scene.
I recommend trying different exposures until you get the creative look you are after. Don’t worry if your first attempts aren’t perfect, the more you practice this technique the better you’ll become.
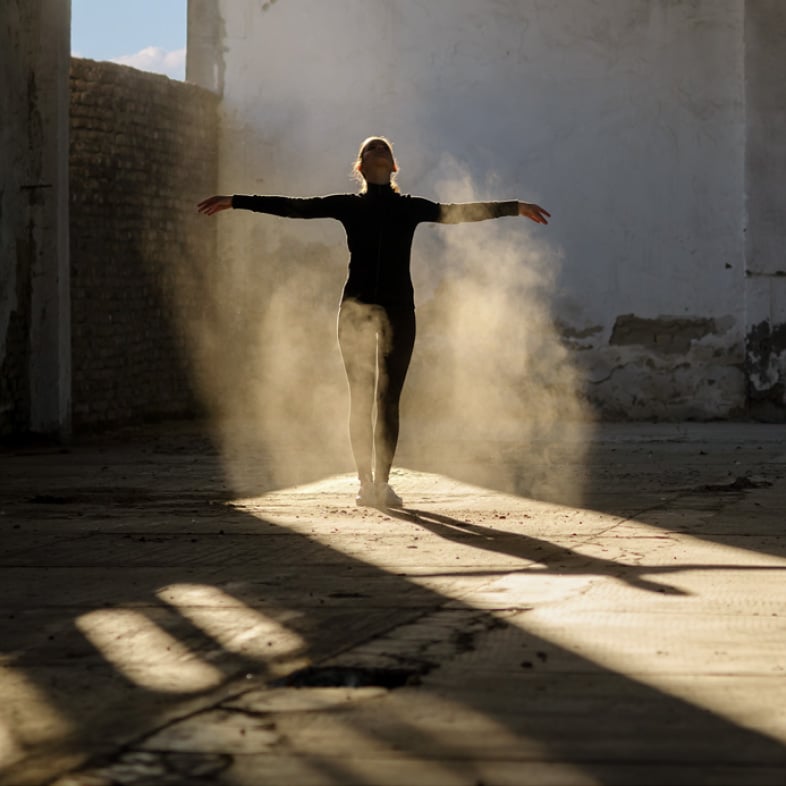
Make Good Use Of Backlighting
Look for situations where your subject is beautifully lit from behind and you see a rim of light surrounding them. Say mid afternoon onward is best for backlighting. Use manual exposure to under-expose the photo so that the brightest areas of the scene are correctly exposed (you see detail in them).
The darker areas of the scene such as the shadows will then be automatically under-exposed.
Converting To Black And White
A great option for photos taken in harsh sunlight is to convert them to black and white. Doing this will emphasise the dramatic differences between dark and light areas of the image.
Note, not all images need to be converted to back and white, for example the dancers on the previous pages. However do give it a try and judge for yourself which you prefer, i.e. colour or black and white.
The next time lighting is more harsh than you’d like, don’t put your camera away. All you need do is figure out what kinds of images work best with this kind of lighting.
Learn to be more creative with your photography, no matter what time of the day!