A common question we receive is how to photograph the Milky Way.
Photographing the milky way and stars at night isn’t as hard as beginner photographers think. For starters it’s important to pick a clear night sky on a new moon. Stars are much brighter when no other light is evident.
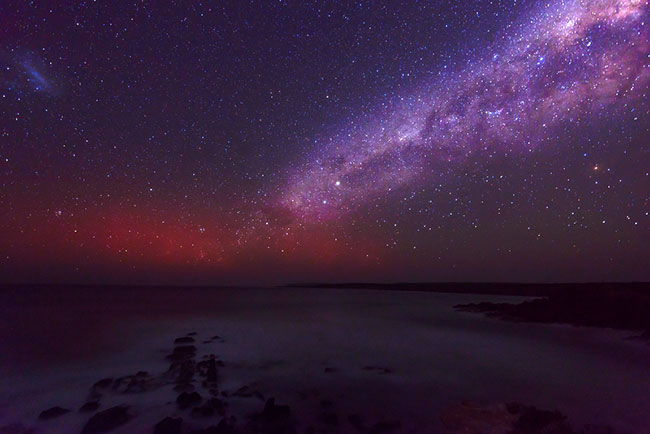
I also recommend choosing a rural landscape with no city lights as shown in the example image below.
What’s the best lens to photograph the Milky Way?
A fast wide angle lens is no doubt the most popular lens for photographing the milky way. By wide angle, I am referring to lenses that are anywhere between 14mm and 35mm. A fast lens is one that allow the photographer to set an aperture number of f/2.8 or lower.
If you don’t have a fast wide angle lens, I also recommend a fast nifty fifty (50mm prime lens). Just about every camera brand sells prime 50mm lenses that offer f/1.8 apertures. They are also dirt cheap with most selling for between $100-$300 dollars.
Best camera for star photography
When photographing stars you need a camera that handles high ISO nicely. Of course it is possible to capture milky way images with lesser cameras, however there may be plenty of noise to tidy up in post processing.
Live view also helps, as it will allow you to zoom in and focus sharply on a star using the actual camera and not the lens. Remember you’ll want to keep your lens nice and wide for epic milky way landscapes. If your camera doesn’t offer live view, you’ll need to focus your lens to infinity instead.
Tripods and remote release
Sit your camera on a strong sturdy heavy tripod and use a remote release. Your remote release doesn’t need to be an expensive timed brand, but I do recommend purchasing one with a trigger lock. This will allow you to press the release button and lock it down for the time required.
Camera Settings to Photograph the Milky Way
A general starting point is to set your DSLR camera on manual mode with ISO 3200, shutter speed 20 seconds and aperture number f/2.8. Look at the result in your rear LCD screen after the first shot and adjust your ISO up or down depending on the exposure you are after. If the result is too dark then increase your ISO, or too light, decrease the camera ISO.
Astro photographers also use what is called the 500 rule for calculating a perfect shutter speed. To use this rule, divide 500 by the focal length of your lens.
For example, lets say you are going to shoot with a wide 17mm focal length. 500/17=29.4
Hence set your shutter speed to roughly 30 seconds (close enough to 29.4).
Remember the earth moves, and normally for epic landscape shots of the milky way, photographers don’t want star trails. We want to shoot nice sharp stars. With this in mind, we don’t recommend setting a shutter speed any slower than 30 seconds.
How to photograph the milky way with a landscape feature in the foreground
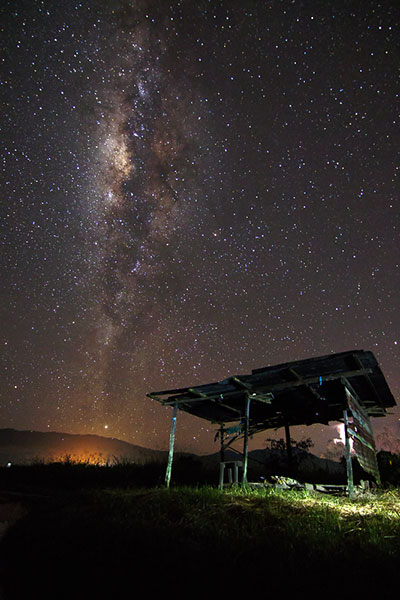
The secret to photographing the milky way as part of an overall landscape is to blend two or more images together as one.
You might think this is cheating. However no photographer will ever shoot a sharp foreground subject that is correctly exposed, with sharply focused stars in the background. Both require completely different camera settings.
(If you know a little about light painting, then you could incorporate this technique in your image instead of taking multiple shots and blending images.)
Technique for composite night sky photos shown as part of the landscape
- Firstly photograph the milky way as described above.
- Secondly photograph the landscape including any foreground subjects such as building, people, trees etc as you would a normal night shot. Yes you will need to change your camera settings. Set a higher aperture number, for example f/8 to ensure more detail in the subject. Be as creative as you like with this. Many photographers love lighting up foreground interest with a flashlight or speedlite.
- Merge both images together using photo editing software.
Sign-up for our online photography course and learn how to master your digital camera in easy to understand “at your own pace” lessons.
Click here for more information and sign-up details!